If you are unsure about these instructions, check the Follett Destiny documentation for assistance.
Circulation Notes
- Exporting records will create a copy of your database and will not interrupt your circulation.
- Changes to the records will be seen once you import the records back into your library automation system.
Note: Your screens may look slightly different depending on your login and what Destiny services are available.
Export Instructions
- Log in to Destiny with your ‘DestinyAdmin’ account (to export a single site) or your ‘DistrictLM’ account (to export the entire district).
- Click the Catalog tab and click Export Titles on the left menu.
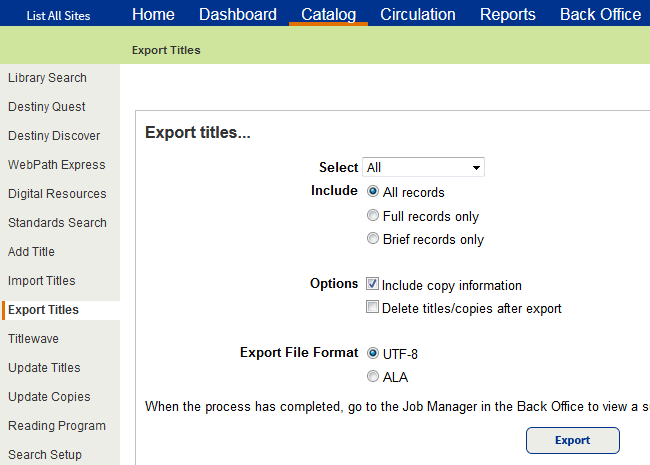
- Under Select, choose All
- Under Include, choose All records
- Under Options, check Include Copy Information
- For single sites, under Options, make sure Delete Titles/Copies After Export is NOT checked
- The Export File Format should remain UTF-8
- Click Export
- Click the Back Office tab and click Job Manager on the left menu.
- The Export Titles job should be the first job listed. When the Status shows Completed, click the View hyperlink.
The Job Summary window appears. - Click the Export File hyperlink.
- When the File Download window appears, click Save.
- Navigate to the location on your computer that you would like the file saved, enter a new name for the file (we recommend naming the file for your site or district), and click Save.
- A window appears, showing the progress of the export.
Once you have exported your records, do not add, change, or delete any records from your database until after your records have been updated and you have brought the updated records back into your database.
After you have finished making modifications to your records, make sure you follow the Update Existing instructions to get your records back into your automation system (not the Import New instructions).